

Installing Linux CentOS 7 is an article that shows how to install the Linux CentOS 7 step-by-step.
First and Foremost, Where Can I download the CentOS 7 installation file?
For this article, we are using the CentOS 7. You can download the installation file at the following link:
http://mirror.ufam.edu.br/centos/7.9.2009/isos/x86_64/CentOS-7-x86_64-DVD-2009.iso
About Our Environment
So, we are installing the Linux CentOS 7 in a lab environment. We are using a nested virtual environment and the following steps were made using the vSphere Client interface. However, you can use your preferred platform to install this OS. Our aim here is to provide all the necessary steps just to install the CentOS 7. Of course, you can reach me in case of trouble or additional questions.
After downloading the CentOS installation file, we already put it in a Content Library:

Creating the Virtual Machine on the vSphere Client
Firstly, right-click on the cluster and select the option “New Virtual Machine” just to start the virtual machine creation wizard:


Here we need to type the virtual machine name. In this case, for instance, the virtual machine name is “centos7“:

Select a compute resource to run this virtual machine. In this case, we have two clusters. We will use the cluster “CL-Computing” to run this virtual machine:

Select the storage. In our example, we have a vSAN cluster. So, we will use the vSAN Datastore to store the virtual machine files:

Under the select guest OS, we need to select the correct Guest OS Family and Guest OS Version. As we are installing a CentOS, we need to select the correct options here:

Here we need to attach the CentOS installation file. Under “New CD/DVD Drive”, select the “Content Library ISO File” option and click on “Browse…” to select the ISO file:


Mark the option “Connect At Power On” to connect the ISO file during the virtual machine power on:

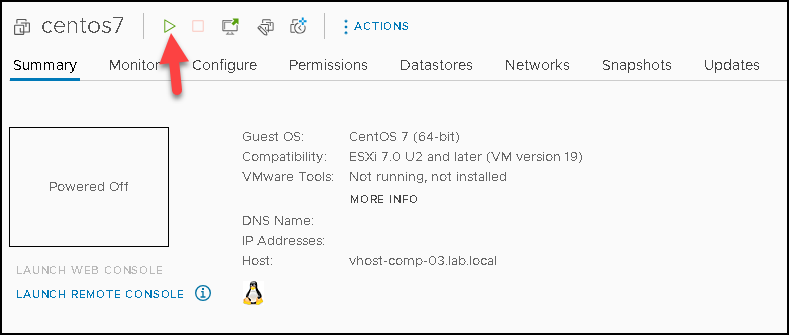
After that, power on the virtual machine to start the installation process:
Install CentOS Using the Installation Wizard
Select the option “Install CentOS 7”:


After a few seconds, the graphical installation wizard will appear to guide the installation process.
Firstly, we need to select the language that will be used during the installation process. After choosing the language, click on “Continue”:

We can see the installation summary. Here, there are all items that we can configure before starting the installation process. You can click on each one and configure it as you need:

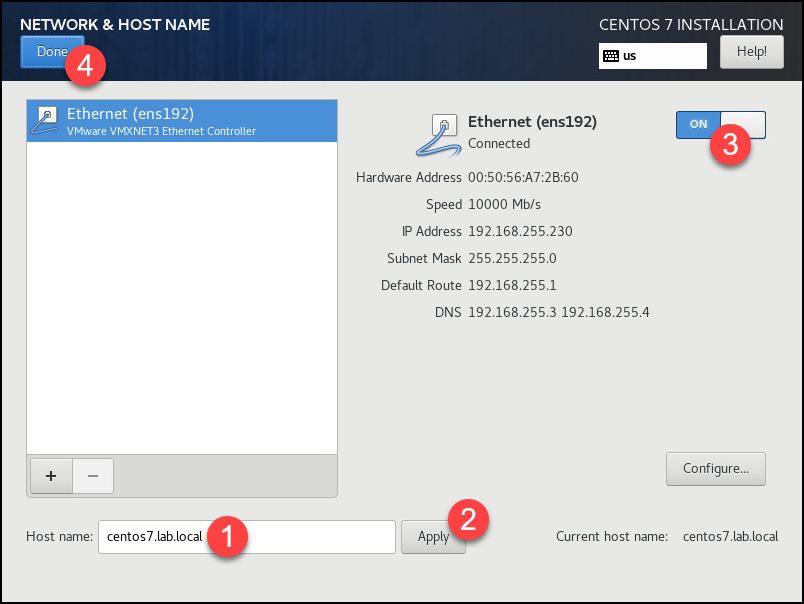
Our first recommendation is to click on “Network & Host Name” just to set up the network configurations:

Make sure to use a network address with Internet access:
Under “Installation Destination” we can set up in which disk the installation is performed and which partition scheme will be used. In this case, for instance, we will use the default option. Click on “Done”.
Note: As we can see, we only have one virtual disk with 16 GB of size:

Click on “Begin Installation” to start the installation process:

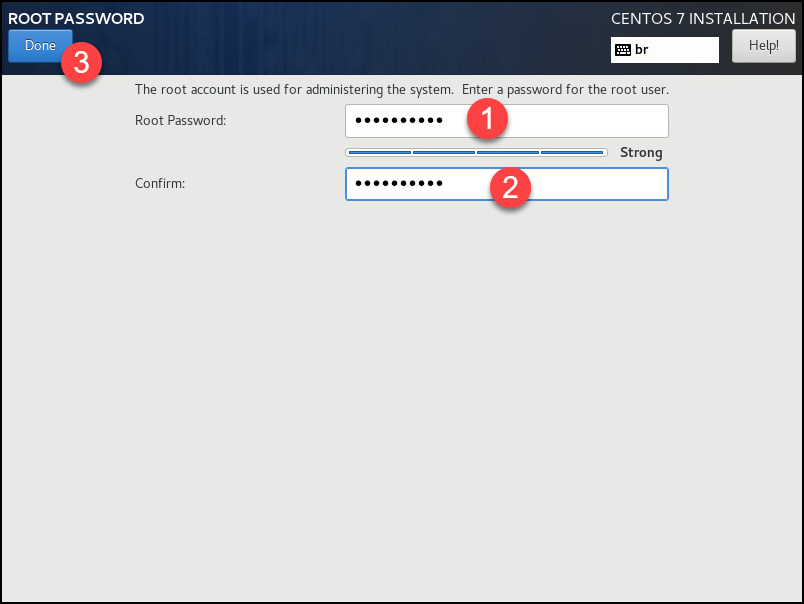
We also need to set up the root password. Click on “Root Password” to do that:

If you want, you can create additional users. Click on “User Creation” to do that. In this case, we will not do it. Wait a few minutes while the installation process is running:

Here we are 🙂
The installation has been finished. Click on “Reboot”:

The system will start using the installation on disk:

And we can log in normally. At this point, our CentOS 7 is ready to be used 🙂

Checking the GuestOS VMware Tools Details
During the installation process, the packet “open-vm-tools” is installed on the OS.
This package will permit the VM can access the hardware layer and access the resources provided by the hypervisor in the best way possible.
On the vSphere Client, we can confirm that the VMware Tools are running:

On the CentOS 7 command line, we can type the below command to confirm that the service “open-vm-tools” is running as well:
systemctl status vmtoolsd
